First things first. Get a glass of wine (but not communion wine) or other beverage of your choice.
Second have a comfortable chair to sit in.
Third, gather your materials.
You are now ready to begin.
This is an Episcopal/Anglican "rosary" and as such, it will contain a total of 33 beads (not counting the accents), instead of the 60 beads in the Roman Catholic rosary.
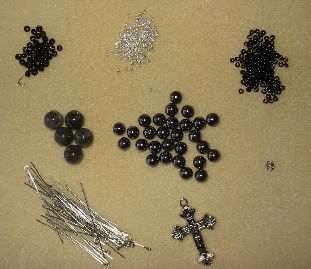
To make this rosary I need eye pins which I use to chain the beads together, a cross... in this case I am using a Jerusalem Cross that I bought at the National Cathedral a few months ago, 28 8mm hematite beads, and 5 larger beads known as "cruciform beads" which, when stretched and spread out, make the sign of the cross. I also use additional small "seed beads" as aesthetic accents.
This is what my supplies looked like when I started:
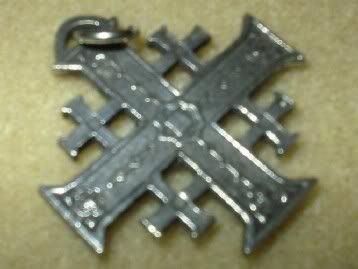
The Jerusalem Cross:
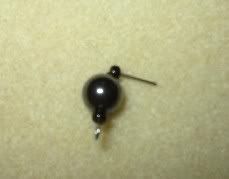
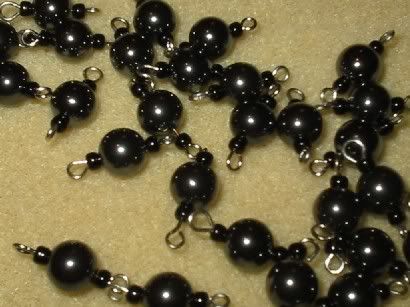
We start assembly by sandwiching a bead (I am using 8mm Hematite) between two black seed beads...
...then snipping the eye pin until there is about 1/4 inch left, then bending it at a right angle... like this:
I keep doing this until I have gotten all 28 finished.
Next, I decide what my accent beads are going to look like for my "separators"... these are going to be a string of accent beads that separate the 8mm beads from the larger cruciform beads. Once I get this done, I make ten "separators":
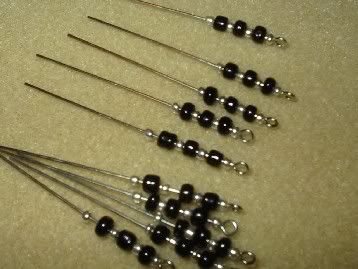
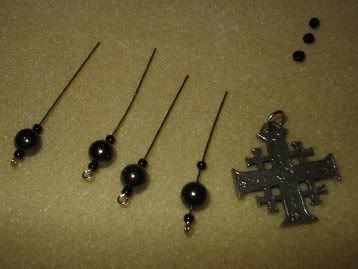
Then I move on to the cruciform beads... I usually will put some accent beads on them, too:

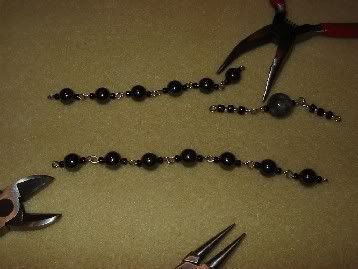
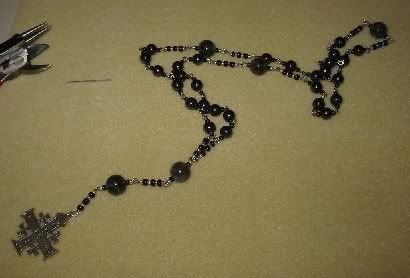
Now I can begin the assembly. For this, I'll need round nose pliers, and angled pliers. Using the round-nosed pliers, I make an eyelet with the straight portion of the eye-pin, and use that to chain that pin to the next. I will do this until I have four strings of seven beads. After that, I will attach the "separators" to the cruciform beads in the same manner:
Next, I attach the cross to the first of the large beads (known as the "invitatory" bead), and then the second large bead, which is the first cruciform bead.
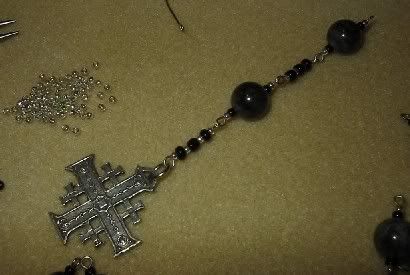
Then I attach the first separators to the cross/invitatory/first cruciform string, and then to each seven bead string (each string of seven is known as a "week"). Note that the cruciform beads separate each "week".
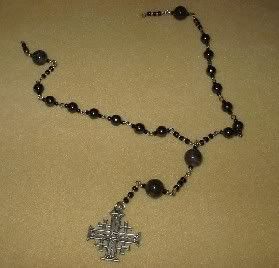
Continue until you are finished:
Done!
I will confess right now, that I had more than one glass of wine while I did this... it takes a while, as it is detailed work.
Cheers,
GF
8 comments:
That rosary is just lovely. It is very intricate work and it was interesting to see your step by step process. It's beautiful.
Wow! That is so impressive. You do beautiful work.
I already know the technicalities of beading (*cough http://desjewelry.blogspot.comcough*) but I did not know the Rules of Rosaries. If I ever get a request to make one, I am coming back here and copying you. Or just sending the person to you directly.
:)
Your work is absolutely beautiful, GF. The intricacy is very impressive.
Absolutely beautiful work!
Those are gorgeous! You are gifted indeed!
That is absolutely beautiful.
I'm glad you took to the time write this all out for other people (with pictures). It's a great reference for a beautiful project.
Post a Comment